The first public beta for The Bug Genie 4 is almost ready to roll. There is a few more items to polish and a little more bugfixing to do – but we’re getting there, one small step at a time.
The last remaining major feature in version 4 is the rewritten planning mode. The planning mode will support agile teams using Scrum or Kanban, as well as a generic mode. This includes planning, reviews and a whiteboard mode, which is quite a lot more than the fairly decent plan mode we have available in version 3.2.
So, without any further delays, let me introduce the brand new plan mode for version 4.0, and a sneak preview of the still unfinished whiteboard.
Please be warned, this post is quite lengthy and has a lot of images. Because we know everyone likes images.
In version 3.1, we introduced a brand new planning mode that let you interactively plan, estimate and work with issues to plan milestones and releases. While it does get the job done, there’s not much elegance to it, it requires a bit of work to plan bigger releases, and is in general just a tool that lives on the side of the rest of the system.
The planning mode in version 4, however, is destined for something bigger. As a result of that, we’ve split the planning mode out of the generic “Planning” submenu in version 3, and promoted it to its own tab, aptly named “Agile”. Yes, we’re all about buzzwords.
In the new agile section, you will find an overview page with agile boards, ready to add your own agile board, or share them with the rest of your team(s). “Agile boards?”, you say, with fear in your voice.
Yes, agile boards – each “board” an entity of its own, with its own settings for plan mode, whiteboards and hierarchy. With each board supporting a multitude of options that lets you have an all-encompassing overview of teams, or a detailed day-to-day view for your own team.
Adding a new board is as easy as clicking one of the “Plus”es. This opens up the Agile board edit dialog, to add a board with your own settings.
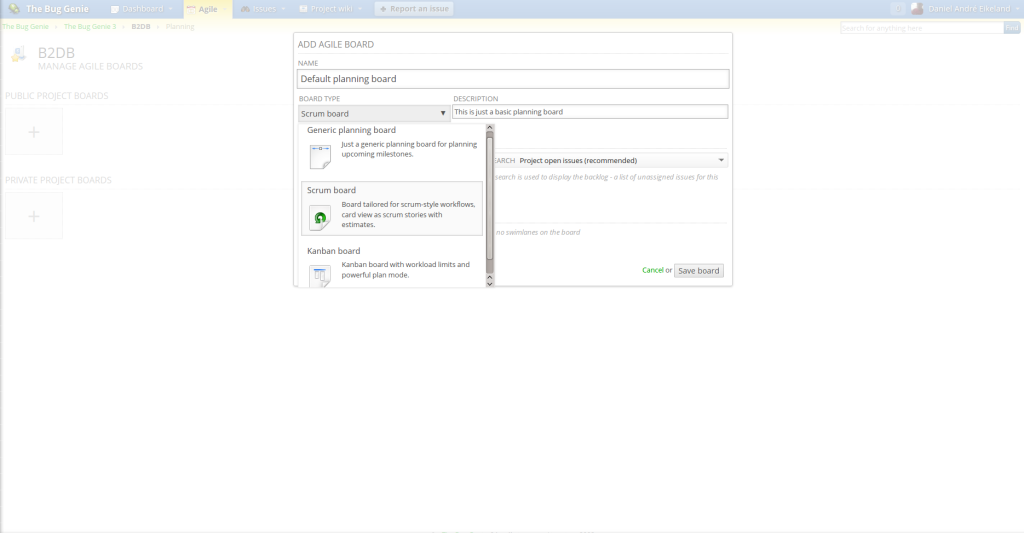
When you create the board, you need to choose whether it is a Scrum board, Kanban board or just a generic planning and working board. For those of you familiar with the Scrum and Kanban methodologies, these board types are tailored to take advantage of each method, and work as you would expect these boards to work.
- For scrum boards, this means point estimates for stories, hour estimates for tasks, as well as an interactive whiteboard that lets you move task across the board with ease.
- Kanban planning mode hides estimates to let you focus on the overall planning, and gives you a clean whiteboard with min / max workloads and visual indicators for when you’re over or under the specified workload.
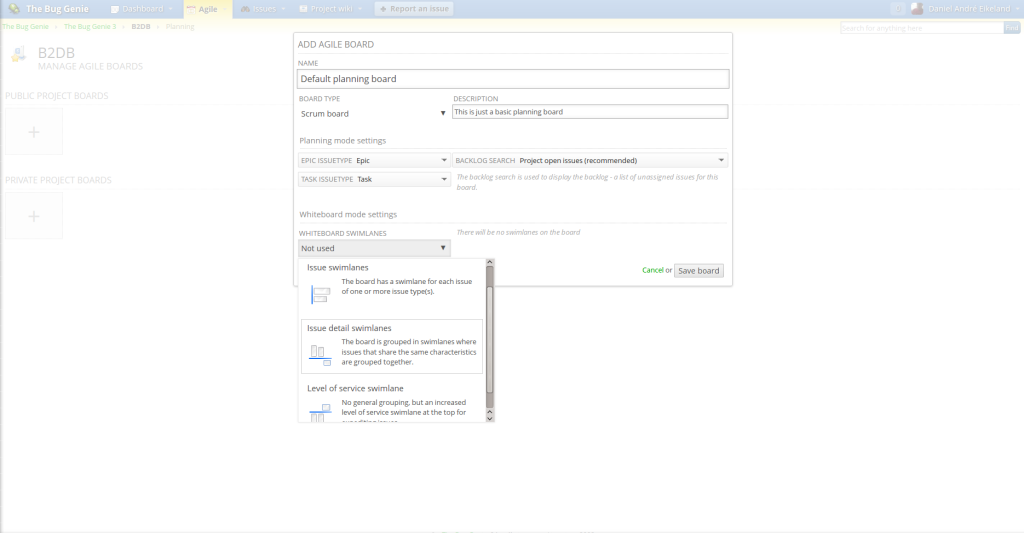
The agile board is split into two sections: one for pre-sprint / pre-milestone planning, and one for showing the sprint / milestone progress every day. When you’re working with your whiteboard, we know you all choose to organize it in different ways. For the initial 4.0 release, there will be support for three types of board swimlanes (as well as “none”):
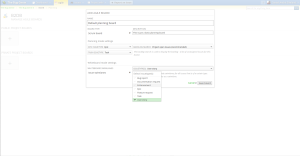
If you are using issue type swimlanes, the whiteboard will have swimlanes for each issue of a certain type(s). In practice, this means, for example, you have a swimlane for each of your user stories with tasks showing up as cards.
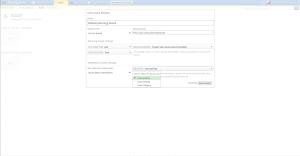
Another way to organize your whiteboard is to group issues by a detail, such as priority, severity or category. This lets you, for examples, easily get an overview of how many issues of a certain severity there are on the board, and where they are in the workflow. Each group also shows the number of issues in the group.
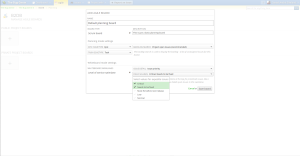
The last swimlane type is the “Expedite” or “Fast track” swimlane. With this selection, you can choose to specify that a certain issue detail, such as priority (alternatively severity or category) puts issues in an elevated “Fast track”, shown at the top of the whiteboard, to easily identify important issues that are to take priority during your sprint.
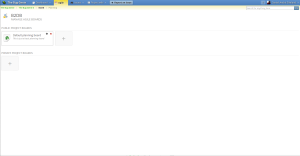
After you have created your agile board, you can find it in the list. Public boards are shown in the top list and are available for everyone (still honoring individual issue and planning permissions, of course), and private boards are shown in the bottom list.
Click the board to get to the plan mode. Let’s get started!
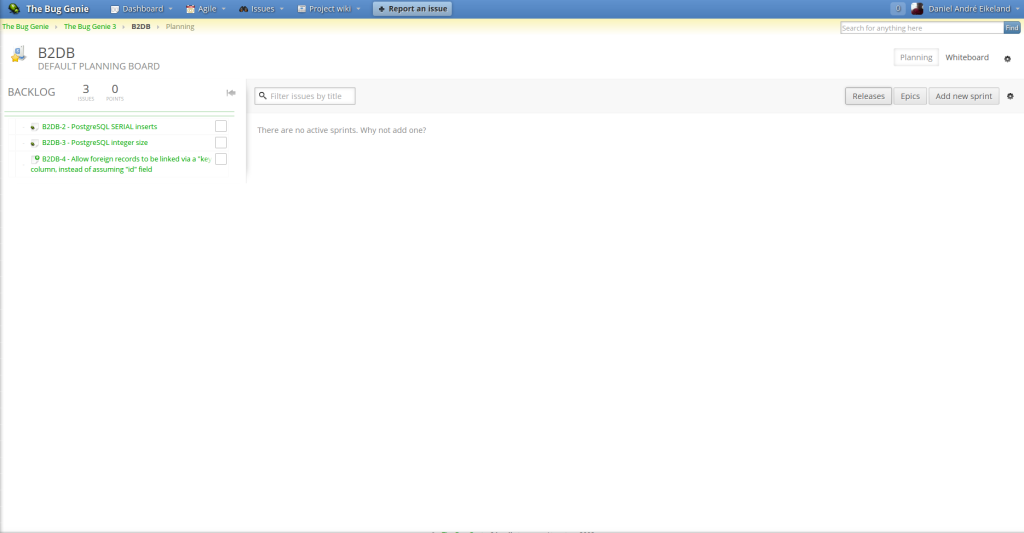
This is the new interactive planning mode available in version 4.0, which replaces the old planning mode used in version 3.x. If you are familiar with the planning mode in version 3.x, you may immediately notice quite a lot of changes, and if you’ve never used the plan mode in 3.x before, this will still be all new to you.
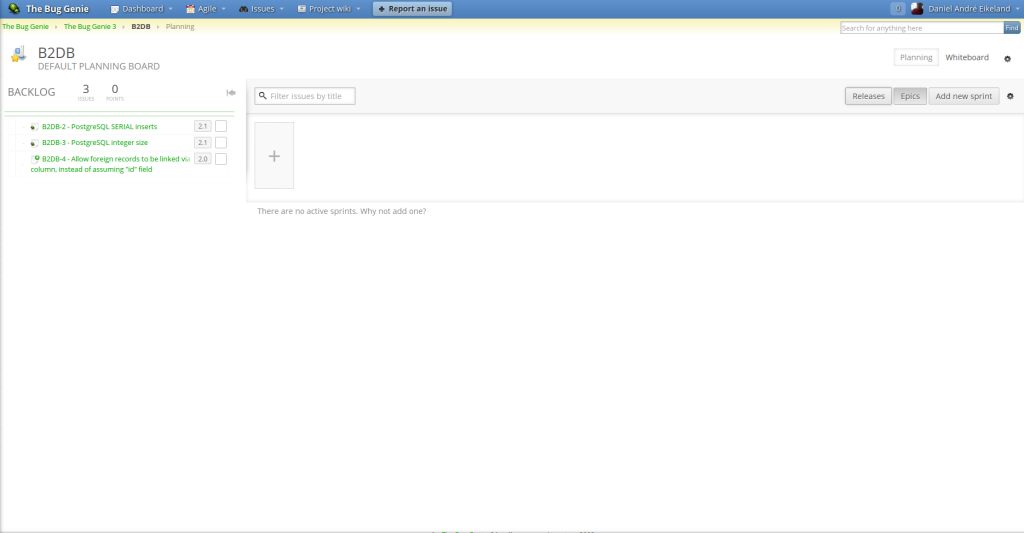
At the top there is an action strip, showing buttons for “Releases”, “Epics” and adding a new sprint. There are also several settings gears, but we’ll not look at these right now – they simply hold actions for editing the agile board (and later milestones / sprints).
You’ll notice that the left side holds the backlog with a list of issue cards. The white square is the current status – for most issues in this preview, they’ll be white (status “New”), but the color will depend on your status setup. The issue list will also show other details such as assignee.
When reading through the features in this post, remember that the planning and whiteboard mode is totally interactive, and will look for changes made by other users. This means you can cooperate with teammates that can use the features described on this page, and the issues will update in your view accordingly without refreshes.
For this demonstration, we’ll fake a couple of releases of B2DB, our own ORM used for the database layer in The Bug Genie. The data is not real, so don’t get caught up in the specific issues. Let’s look at the details.
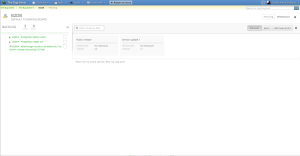
When you’re working with bigger projects, you’ll have releases. One, two, three, you know how it goes. This can be one release per milestone – or more, or fewer (the releases are not managed from this page, but from the Release center). Any unreleased release will show up in the Planning mode, available for adding issues.
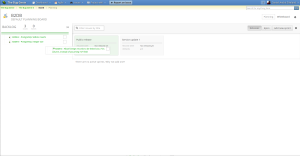
To assign an issue to a release, simply drag the issue over the release in the list. It’ll turn green when you hover it, and as soon as you let go, it’ll be assigned.
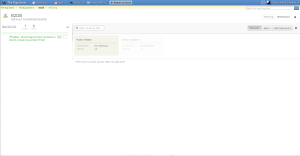
You can click any release in the list to filter issues assigned to that release. This will hide all issues that aren’t assigned to the release, and is a great way to get a good overview. As you can see, the assigned release version number is also shown as a badge on the issue itself.
An awesome new feature in the 4.0 planning mode is the support for epics. Epics are larger features / changes which may or may not span multiple milestones / sprints and multiple releases. This means it needs to be tracked “above” sprints and besides releases, which is why it’s added as a separate list in the planning mode.
Epics show up just as the release cards, and will show a progress bar and let you assign issues just as the releases. However, epics are issues just as other issues, and can contain issue details and data just as well as the rest.
As you can see from the image above, issues assigned to epics show up with the name of the epic as a badge on the issue itself. Actually, it’s not the name of the epic but a short label. A great feature on the planning page is that all issues (including epics) can be colored. This gives a great visual indication about which feature set issues belong to. Here’s the coloring in action, with the NoSQL epic colored yellow. Notice the difference.
As you continue working with issues, the next thing you want to do is you will probably want to add estimates. When you hover an issue, a drop down menu can be accessed for each issue, with actions available for each issue.
The drop-down menu is organized into sections, with workflow actions available at the top. These will update the issue (and popup the workflow dialog if necessary), and are handy if you want to change issue details from the planning page. In this list you will also find the “Estimate this issue” menu item to estimate the issue. This works just as estimating the issue from the issue detail view.
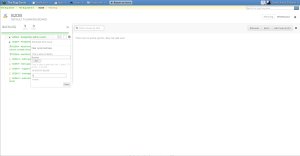
Issue estimates are shown directly on the issue if it is estimated.
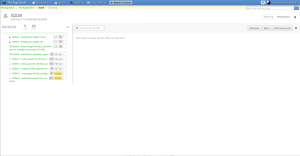
You can also see here that the backlog estimate is also correctly updated. This will also happen when there are one or more sprints, should the estimates change. Let’s add a sprint.
If you look closely at the backlog header, you’ll notice that there are two green lines underneath the estimate header. This is the “New sprint” marker, which you can use to highlight and add issues to a new sprint withouth manually assigning them.
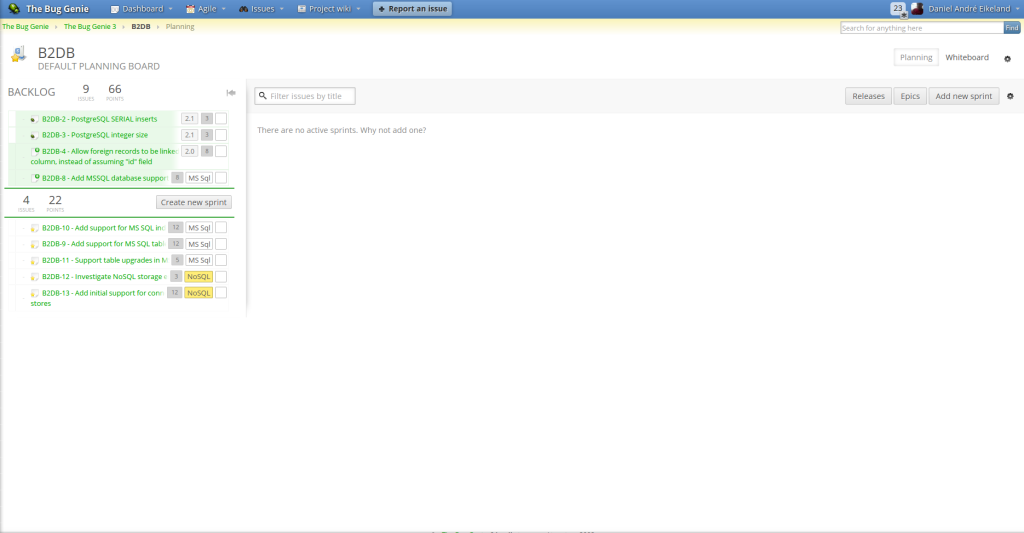
The “New sprint” marker keeps its own set of estimates for the highlighted issues. You can drag the marker down in the list, highlighting issues as you drag. When you’re satisfied, release the marker and press the “Create new sprint” button.
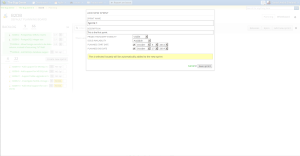
You give the sprint a name, optionally a start / end date and a description, and The Bug Genie will automatically add the highlighted issues to that sprint.
Let’s add some more sprints.
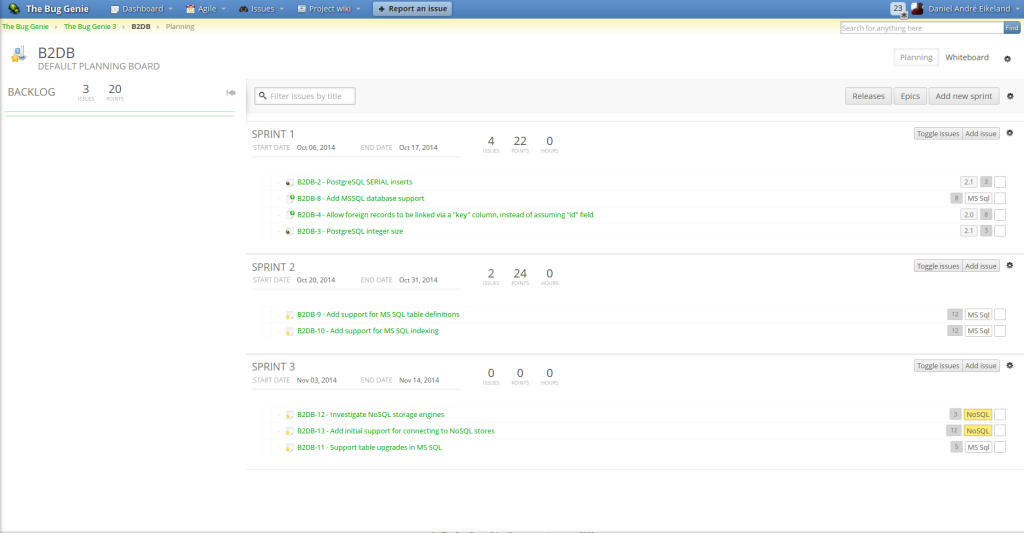
As you can see, we’ve now added several sprints, with different estimates and issues that span multiple releases and epics. Great stuff! You can still use the releases and epics list to filter issues matching each epic or release.
Another nifty detail is that the epic and release progress will be updated by the assigned issues. Closing issues in a release or epic will update the estimates and ongoing progress, visually indicated by their progress bar.
Another important detail on the planning page is showing issue components. In The Bug Genie we use components to indicate which part of the system a feature or bug report belongs to. You can add components either in the issue detail view or via the drop-down menu. Issue components show up on the issue card, just as estimates, release information and epic details does.
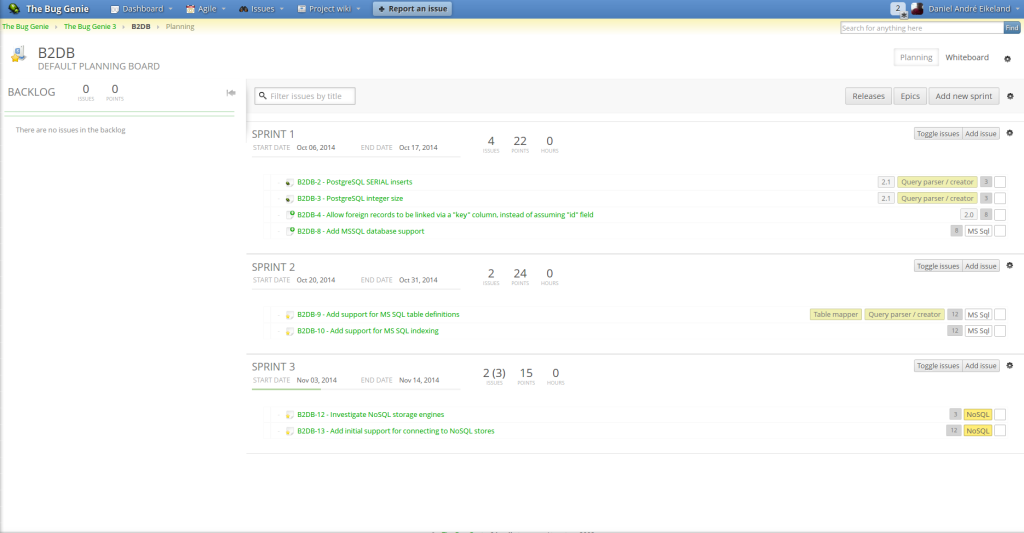 Remember that we mentioned the planning page is interactive. You can of course drag and drop issues between sprints, should you find that you need to alter a sprint at any time. This also includes dragging issues straight from the backlog and into a sprint.
So, you have your sprints set up, your issues ready to be worked with. So, do you still need the agile tool? Of course!
Notice the little buttons in the top right corner. There’s one for the planning mode which we’ve looked through extensively, and there’s another for the Whiteboard.
Whoah, we’re at 1900 words already. Well, good thing that the whiteboard is the last thing that keeps us from releasing the beta, then! It’s not really finished yet, but I’ll leave you with a couple preview images (they are still work in progress) to show you where we’re at.
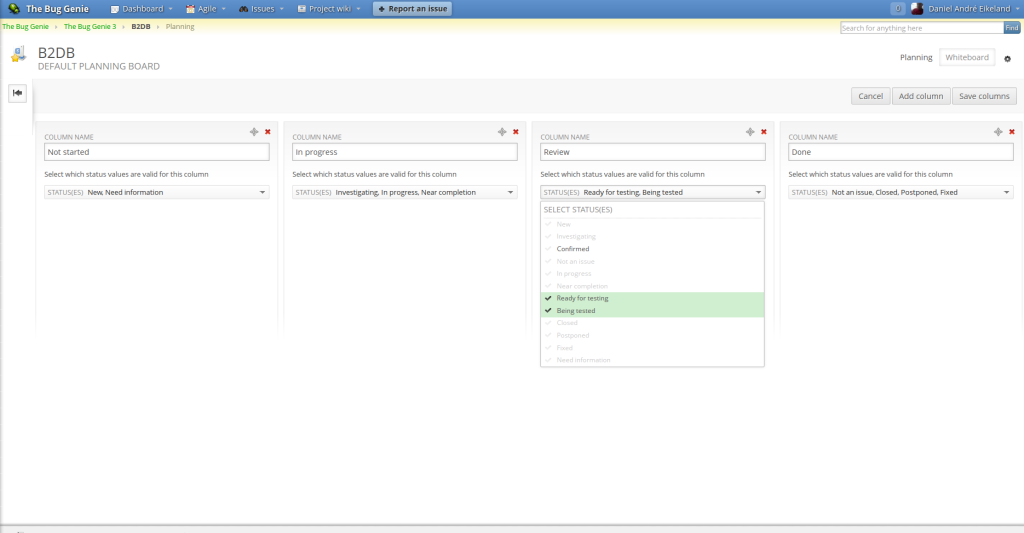
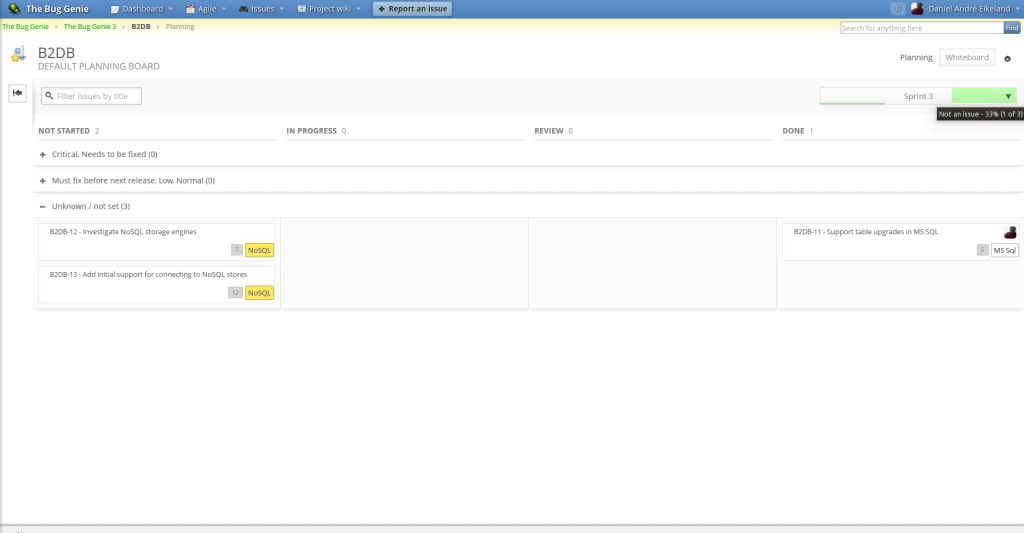
As always, please leave your thoughts and comments below. We’re really, super excited to release version 4.0 to you all, and we can’t wait to see the awesome things you can do with it.
Stay tuned!

WOW! I had no idea you were going to update the planning and agile. A complete bonus for us. 🙂 I love the drag and drop feature especially.
I like the fact that you’re not taking a minimalistic approach here, but I’m wondering how you’ll make sure that dependencies are not missed.
I can see Epics working really well to encompass all these tasks spread across different components, but I’m wondering if something could be done to make sure a PM clearly knows that a feature is not going to be complete in Sprint 1 because it depends on a task in Sprint 3 per example. Even in the issues list view, we can’t see dependencies.
Maybe the children should be added as tags? [#245][#4871]
There’s not enough time or space to describe all the different features at length in a blog post like these. I do understand what you mean, so let me know if the following addresses your concerns:
* Each agile board can be structured to display different levels of the issues in a project. This means you can use an agile whiteboard to show the progress of epics across milestones instead of issues in one milestone.
* It is not visible in any of the screenshots, but the issue cards in the whiteboard will show sub-tasks if they have sub-tasks. None of the tasks in the screenshots had that, so they don’t show up. We’re also still considering whether to go for a configurable display in the planning and whiteboard views, but at the very least that will be added post-release.
* Issues in the planning view will show up in a tree-like view (indented under their parent issue) when they are child issues of another issue.
* Not implemented before the initial release, but there is a definitive need for better reporting views and functionality with all the tools available in the 4.0 release. This will be handled as soon as the initial 4.0 version has been released.
Thank you for your detailed reply 🙂
I’ve just checked a deployed version of master and could see the issues organised in a tree when there are children and they move as a block, which is great. I believe using Epics should be enough to organise major work which needs to be spread across several components per example.
What enormous amount of work! The ability to get a better visual sense of things using the whiteboard model is something I am really looking forward to trying out. Thanks so much for such a exciting tool!
We’re super excited for the next release! Love this software.
Where can we see a list of issues fixed since the last release?
Good luck with the release guys!
How is v4.0 coming along? We are really looking forward to the new release.
I was wondering if there will be a WYSIWYG editor available for it. We occasionally need to copy content from a different source and it is a pain to have to re-format the text using the markup syntax each time, especially for compiling documentation and when our clients enter bug reports.
hello,
what is the release date for thebuggenie 4?